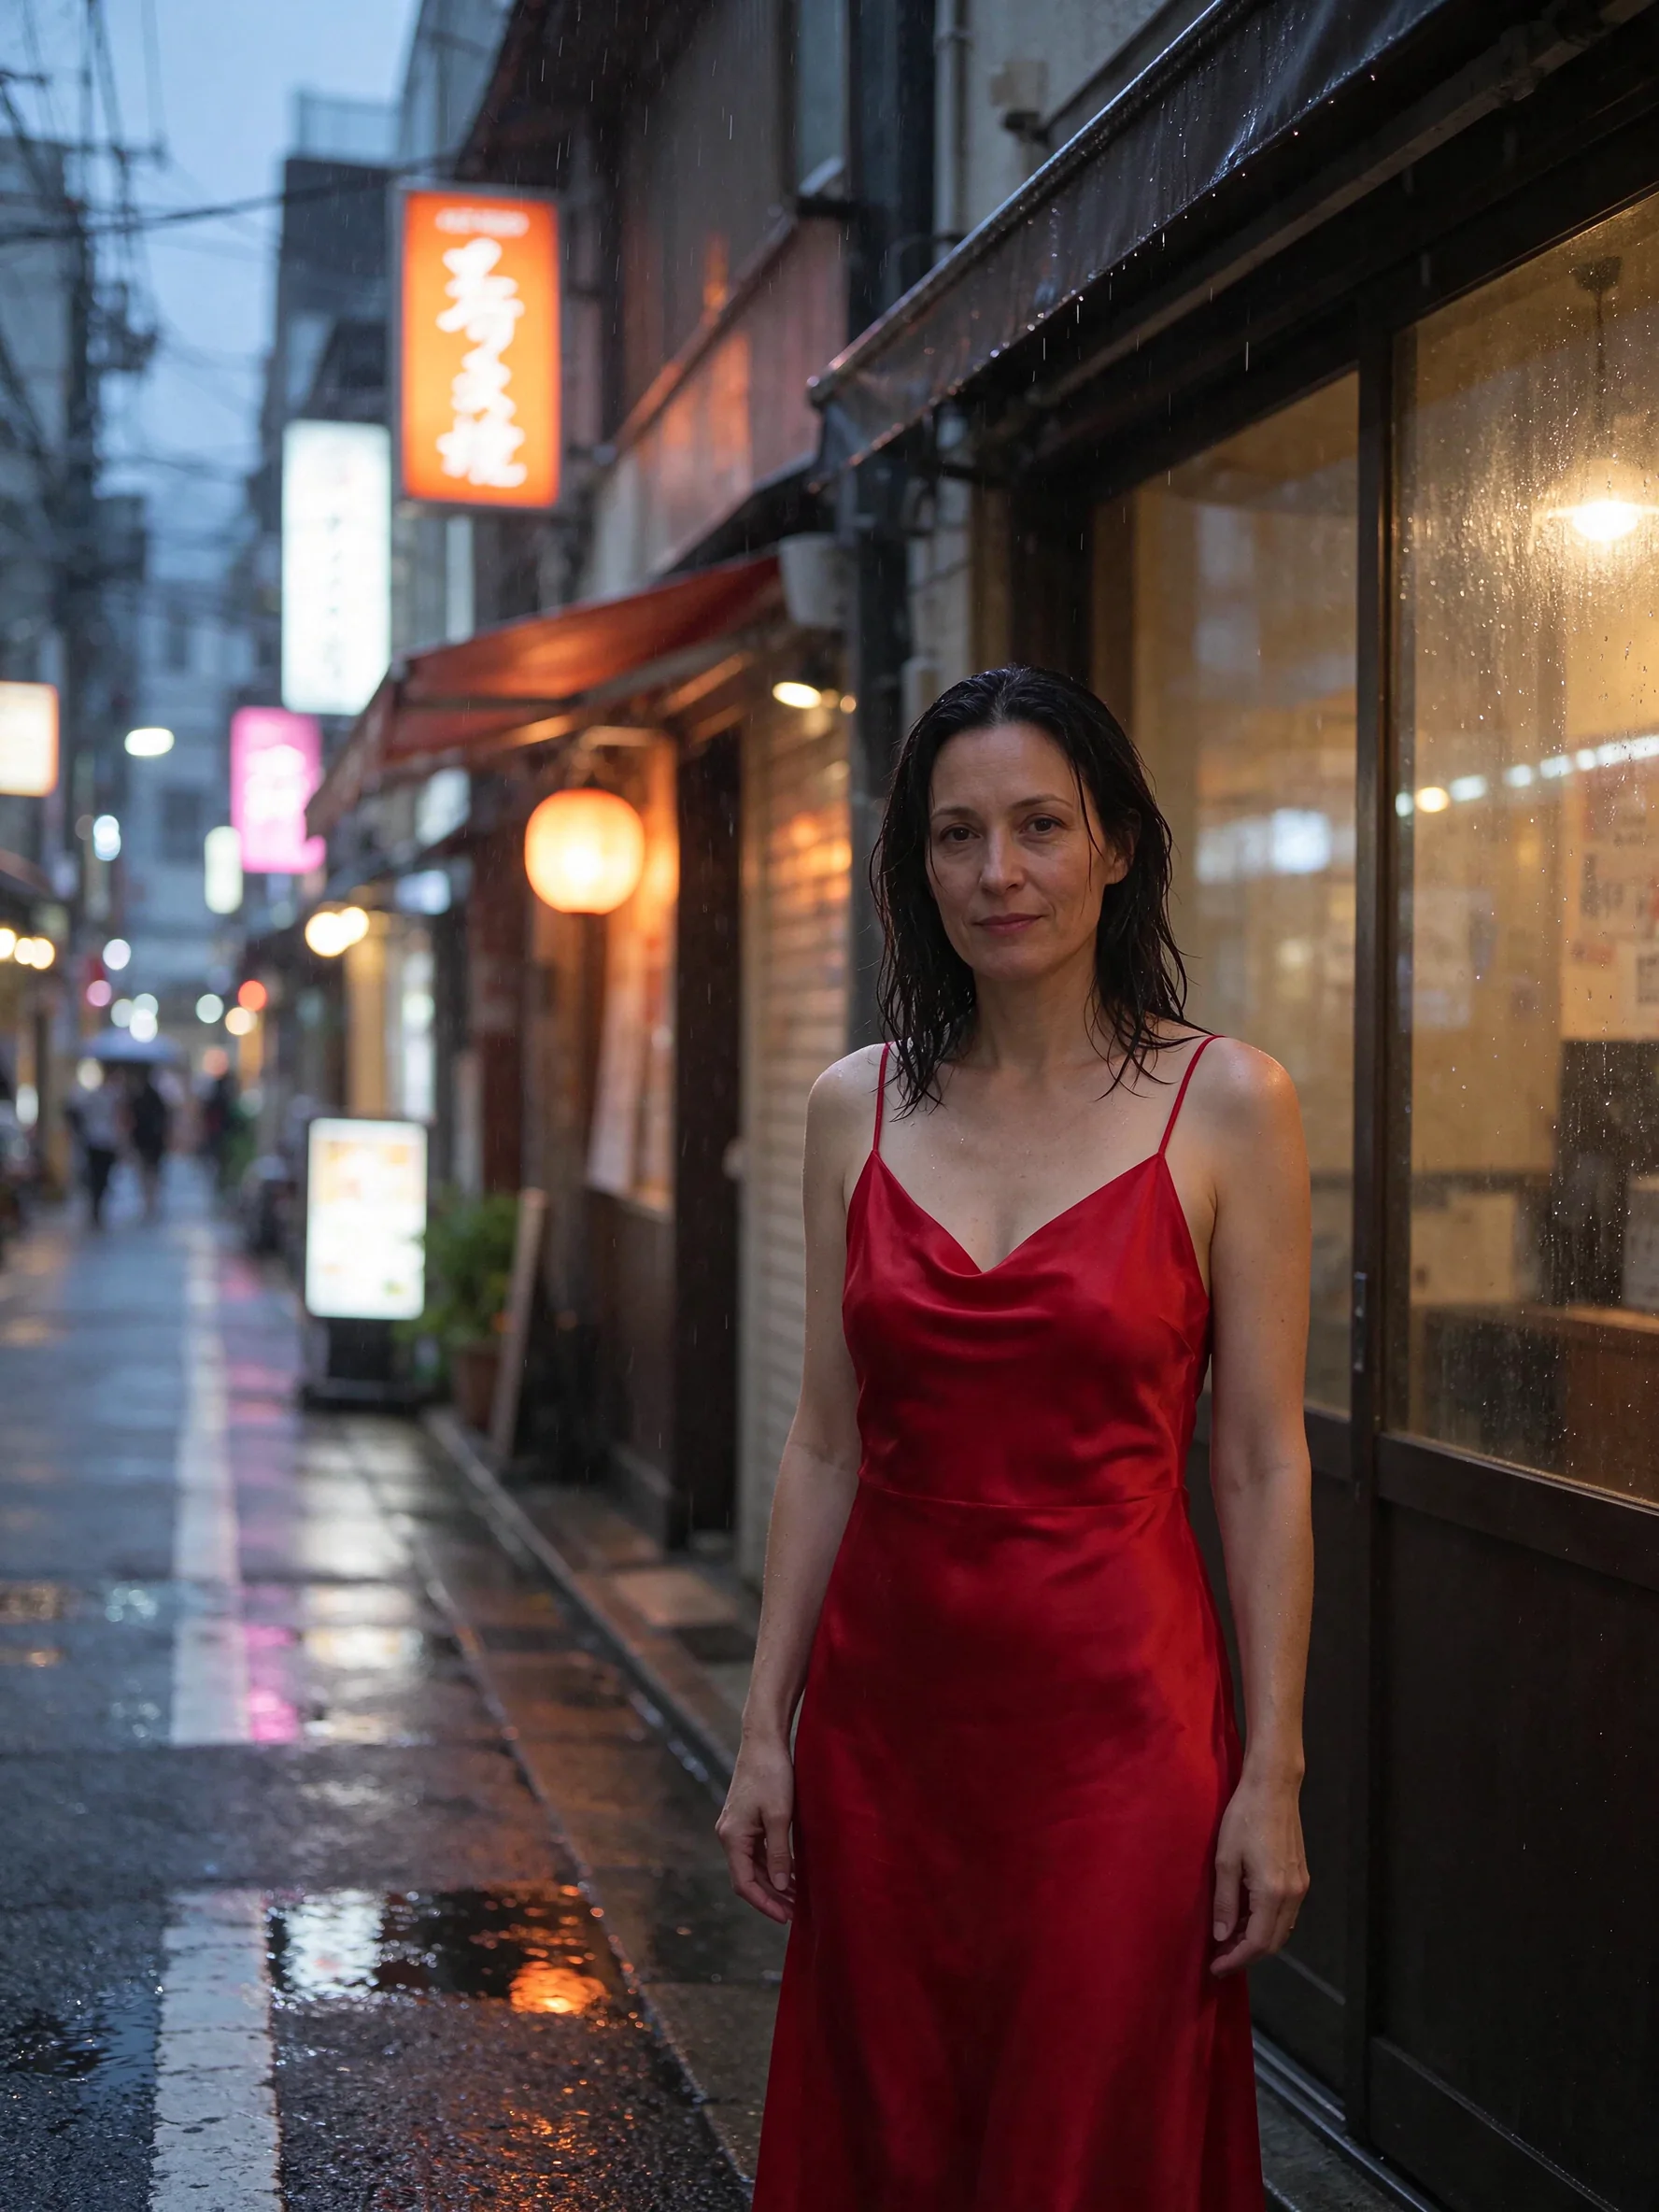
Introduction
Seedream 5.5 layers turn a finished PNG or JPEG into an opaque base image and separate transparent pieces. Use image layer decomposition when you already have a design and want to work with its elements individually. This endpoint accepts a single source rather than the reference collection used by editing.
ByteDance describes a base image plus up to 99 editable transparent PNG layers. Our tests split a magazine cover, a menu, and a three-line poster. The results demonstrate why the requested output count is a ceiling: some images filled the requested limit, while the poster returned fewer pieces than its limit allowed.
Key features & highlights
A base with transparent pieces
The base is opaque, and the separated elements use PNG transparency. Choosing jpeg as output_format changes the base encoding; the layers still arrive as transparent PNGs. Keep this distinction in mind when saving files for a composition. The base and the layers serve different roles in the returned set.
Each layer carries a name, a bounding box, and zIndex for its stacking order. The base has no bounding box. Retain this information alongside the image files when arranging the separated elements in a design tool. Each returned image keeps its own shape.
A ceiling that counts the base
num_outputs accepts values from 2 to 100 and defaults to 10. Count the base as one output when planning the split. A ceiling of six therefore allows a base and five transparent layers. A larger value usually gives finer separation, but the actual result can contain fewer images.
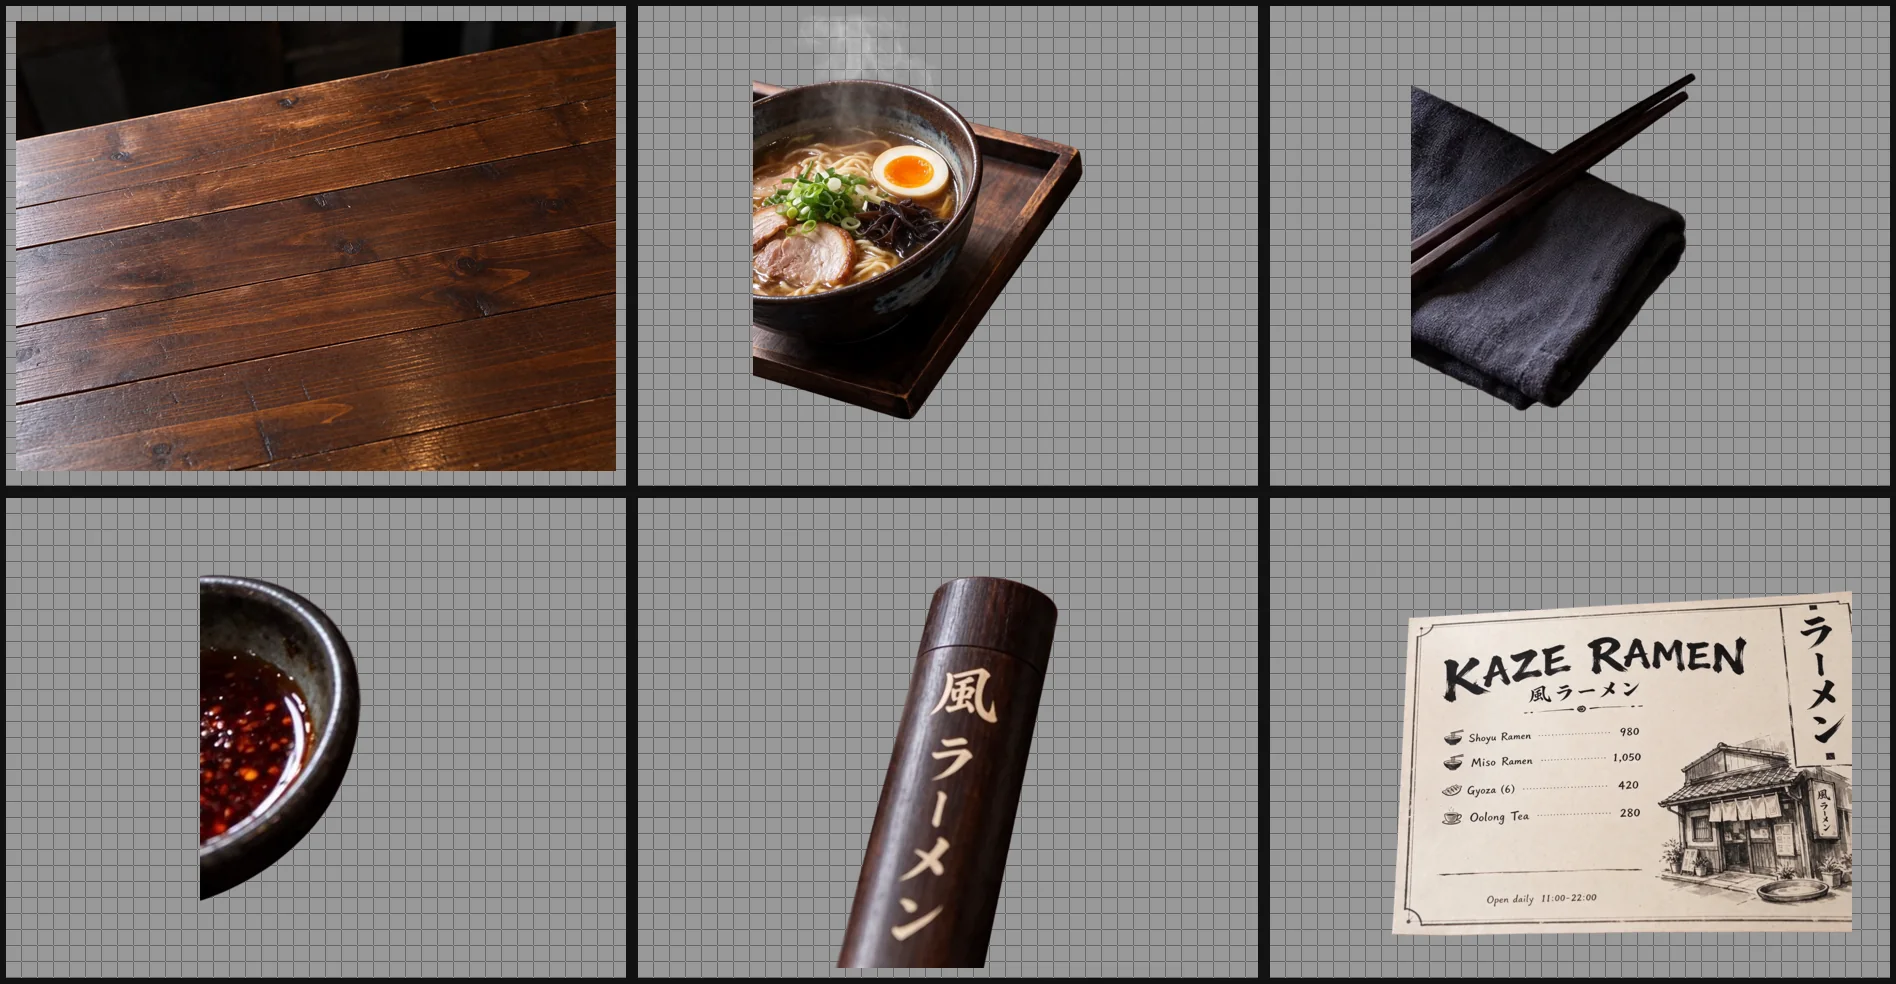
In our tests, a menu returned one base and five layers at a limit of six. A three-line poster returned one base and three text layers at a limit of five. The poster demonstrates that setting a larger ceiling does not require the model to fill every available output slot.
English names on request
The page examples ask for every layer name and description in English. Our tests returned English names when prompted that way. Include "Write every layer name and description in English" if your design workflow needs that language. Keep the naming request separate from the list of elements to split.
Source and resolution controls
Provide one PNG or JPEG measuring at least 512 x 512 pixels. Resolution choices are auto, 1k, 1.5k, and 2k, with auto as the default. These are the layer endpoint's choices; the 4k setting available for generation and editing is not a layer resolution option.
| Setting | Role in the split |
|---|---|
image_url | Supplies the finished source picture |
| prompt | Optionally names elements or a target region |
| resolution | Selects auto, 1k, 1.5k, or 2k |
num_outputs | Caps all returned images, including the base |
output_format | Selects PNG or JPEG for the base image |
Request parameters
| Parameter | Required | Description |
|---|---|---|
image_url | Yes | This layer splitter is moderated, so flagged requests are refused without charge; an unmoderated version is coming soon. Supply one PNG or JPEG, at least 512 x 512 pixels. at least 1 characters |
prompt | No | Optional. Name the elements to separate, up to 5,000 characters. at least 3 characters · at most 5000 characters |
num_outputs | No | Caps the total returned image count, including the base: 2 to 100, default 10. A higher cap usually produces finer layers but does not guarantee that count. |
resolution | No | Chooses auto, 1k, 1.5k, or 2k; auto is the default. Each returned image keeps its own shape. |
output_format | No | Select png (default) or jpeg for the opaque base. Separated layers remain transparent PNGs with either choice. |
Pricing
Billing follows the resolution tier and the number of images actually returned, including the base. The quote holds the maximum for the requested output limit; the difference is released at settlement. The auto setting is held at the 2k rate.
| Specification | Price |
|---|---|
| $0.0195 / image |
| $0.0195 / image |
| $0.027 / image |
| $0.027 / image |
Use cases
Separate a magazine cover into design elements
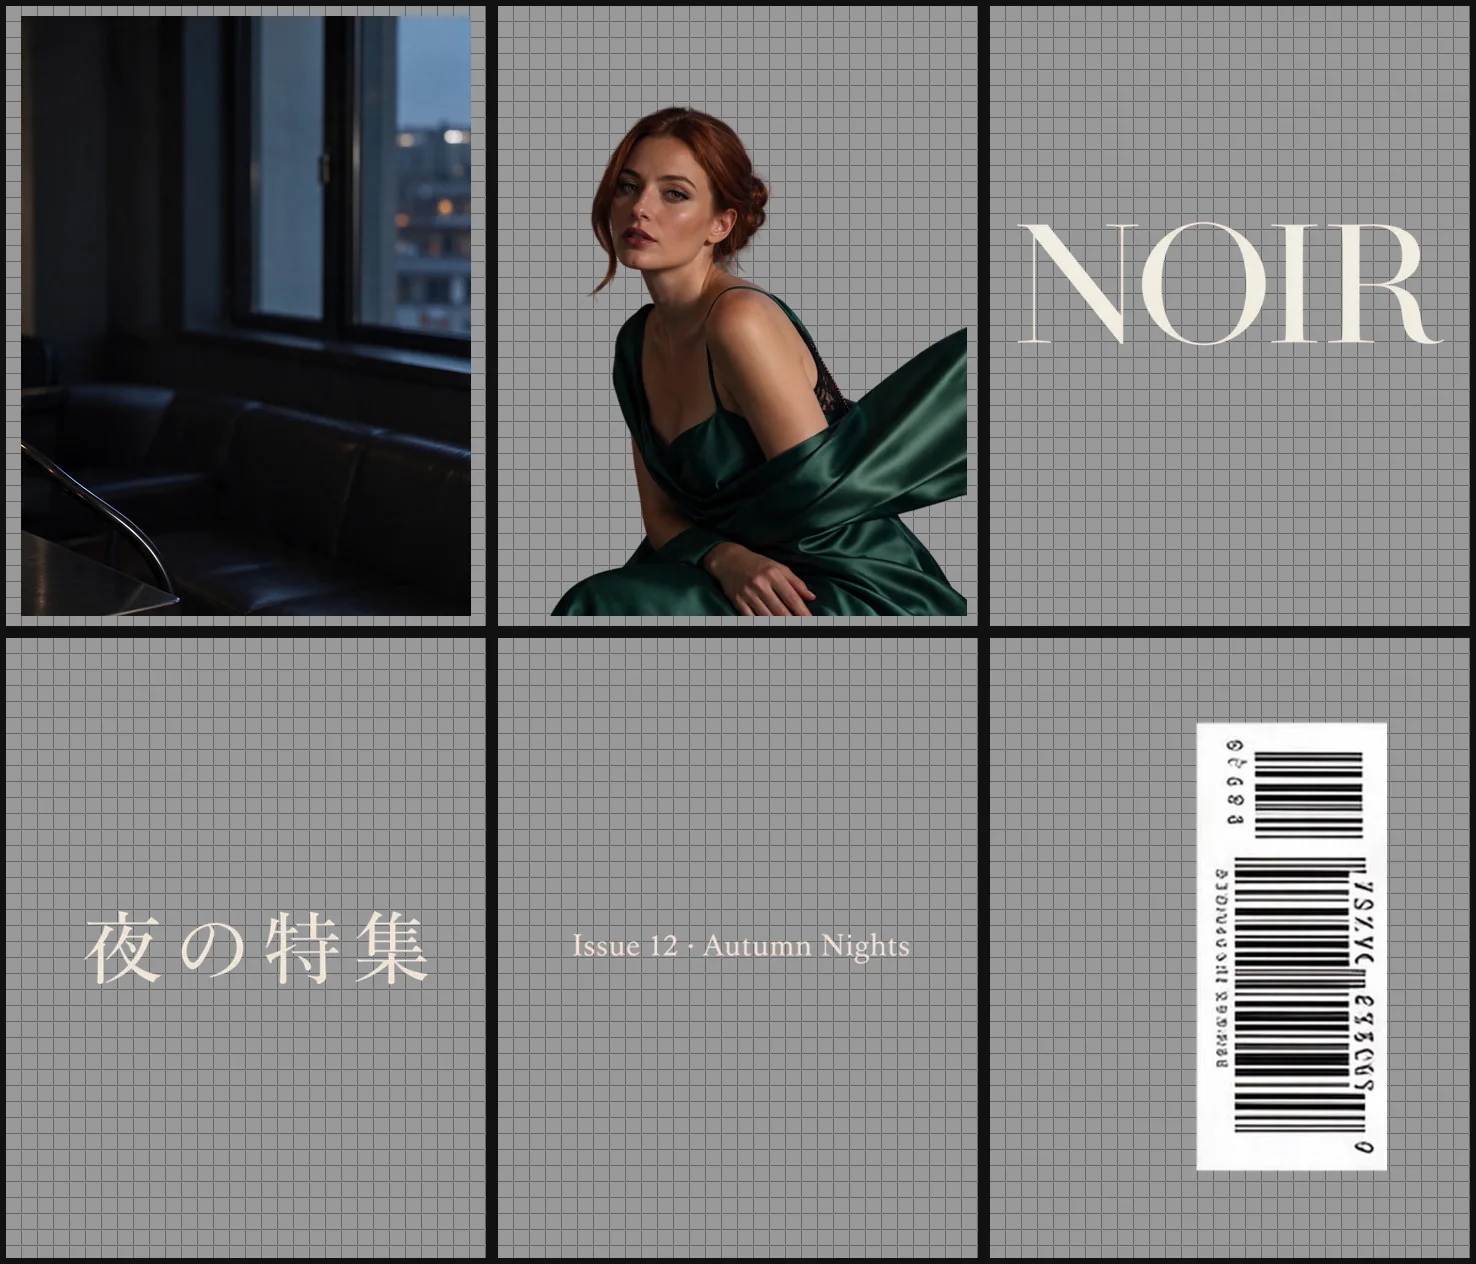
Our NOIR cover split used a six-image limit and returned six images. The pieces were a background, a person, a masthead, a Japanese line, an issue line, and a barcode. This gives a concrete example of Seedream 5.5 layers for a cover with both photographic content and lettering.
Use that result as a planning reference when the design contains distinct elements you want separately. Name the parts that matter in the optional instruction. Keep the source image available so you can compare the returned pieces with the original layout.
Take a menu apart for further composition
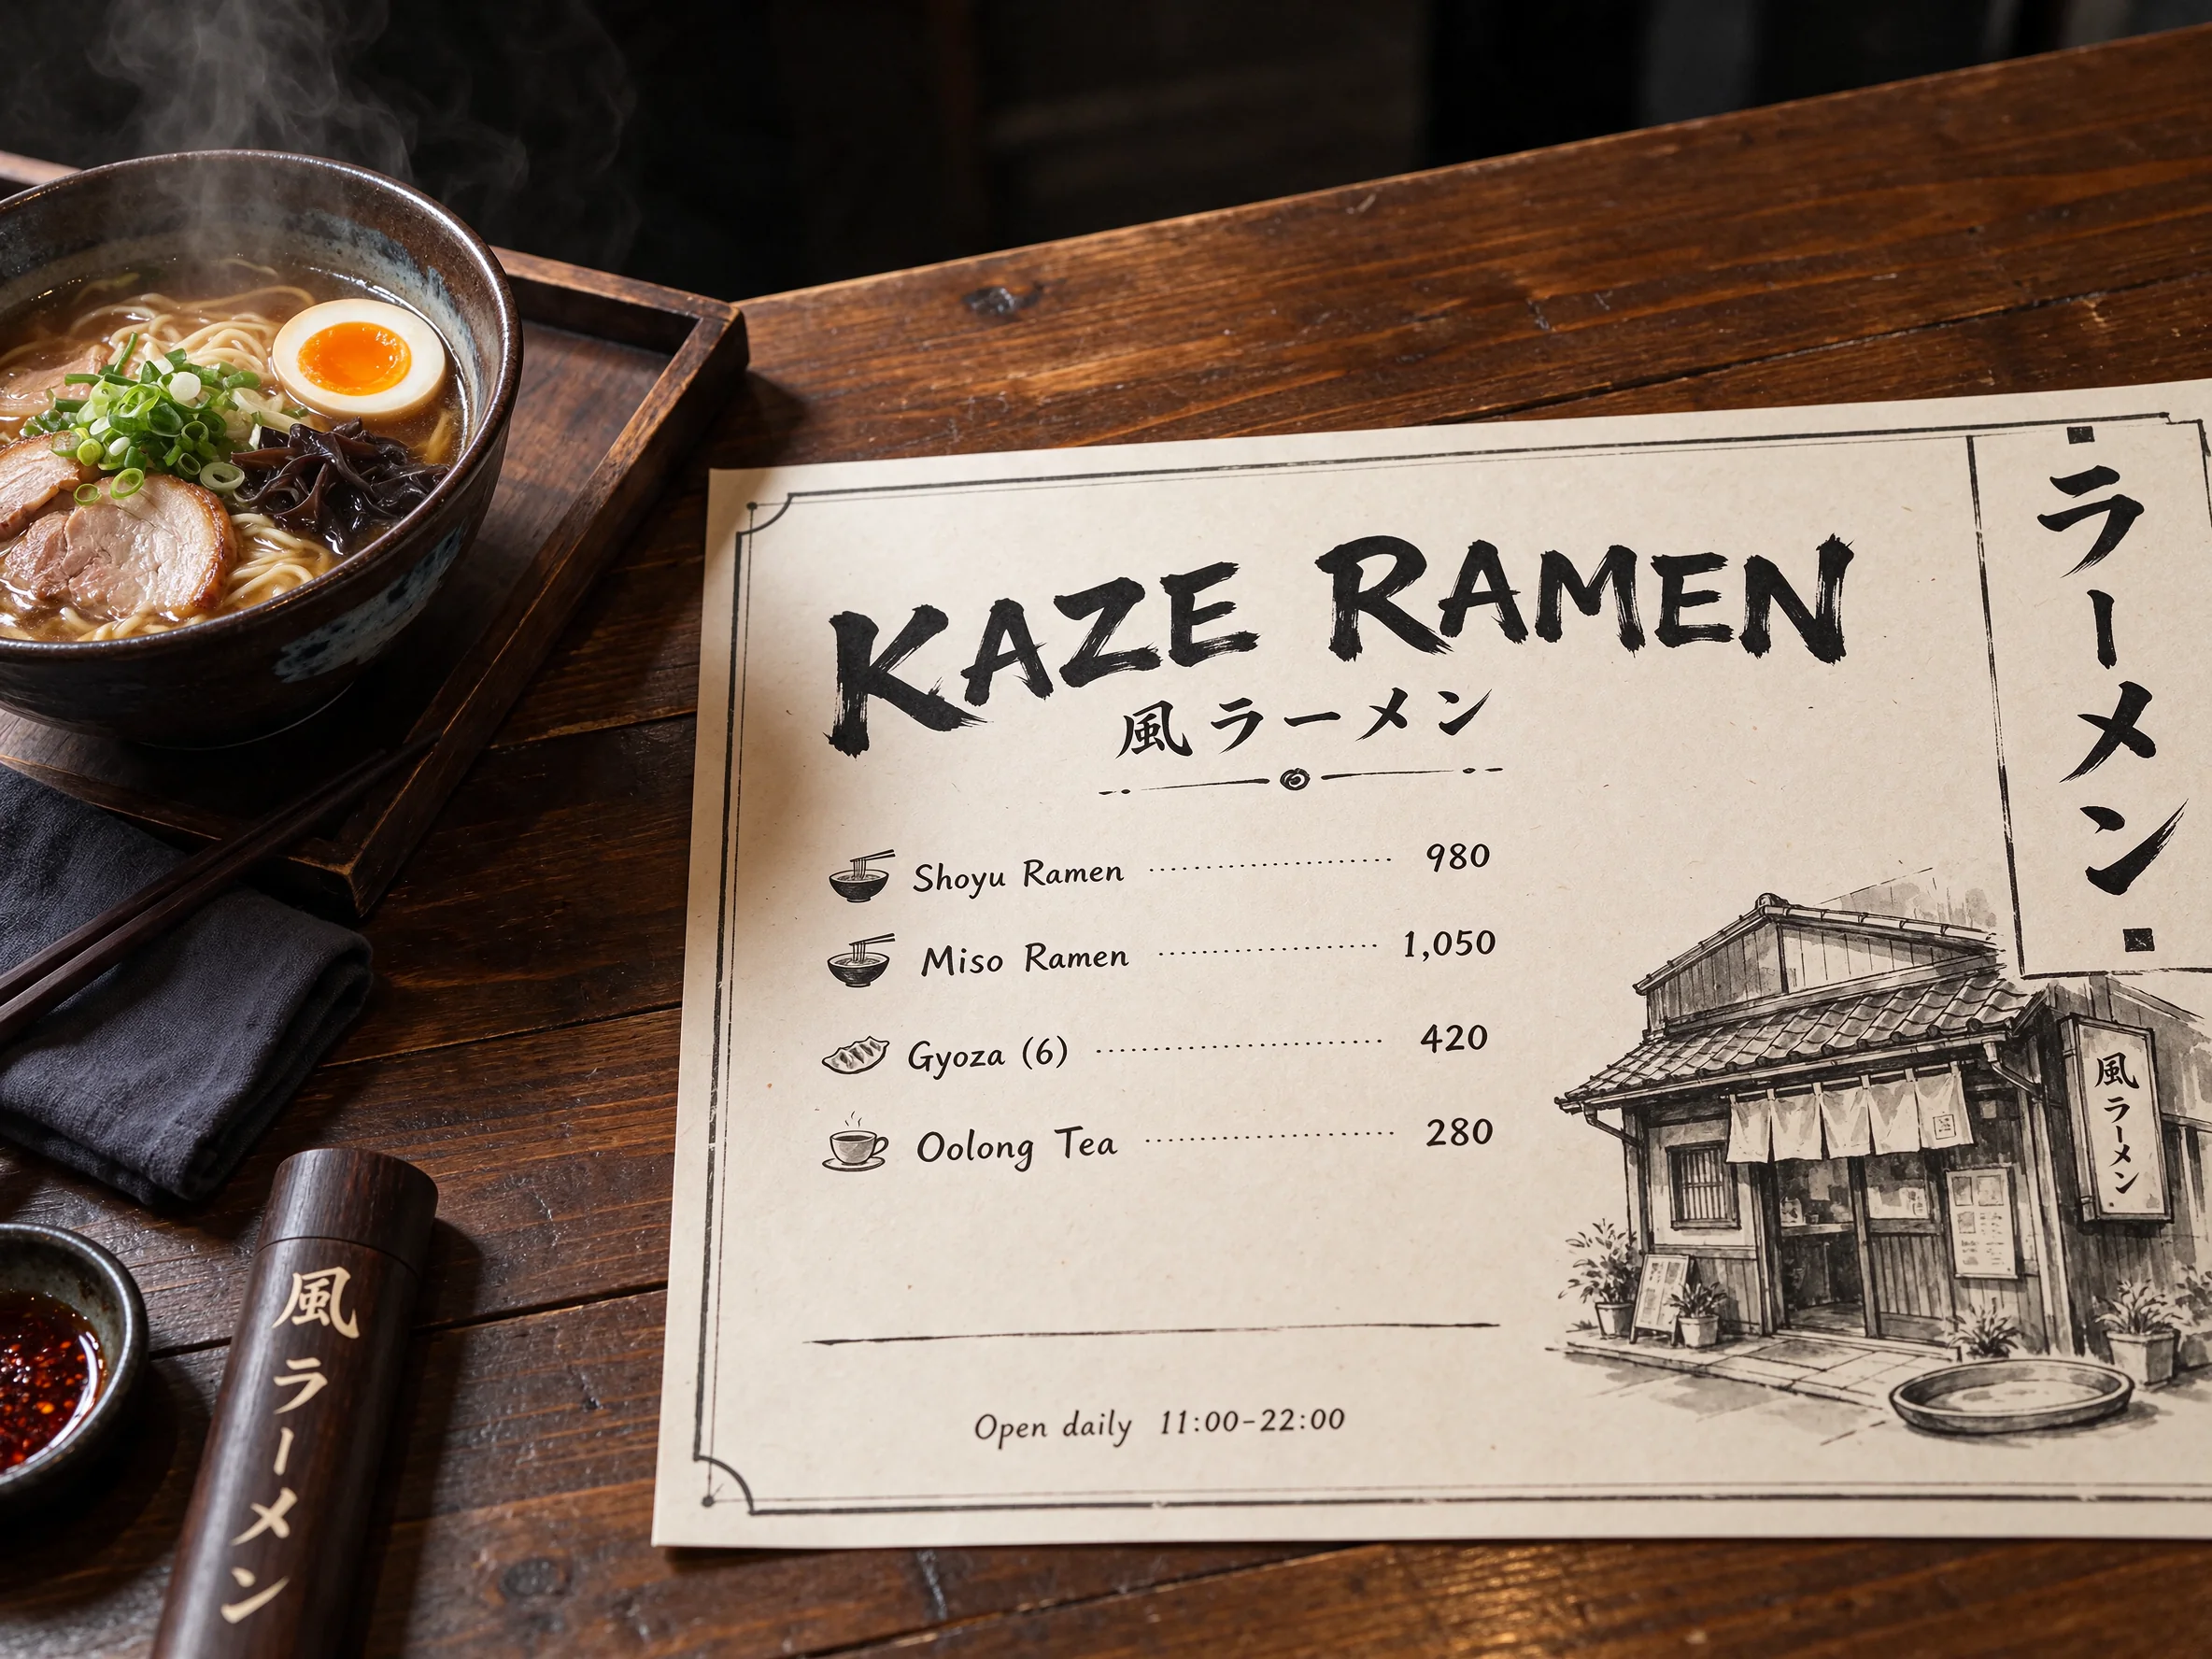
The Kaze Ramen layer example starts with the finished menu image. At a six-image ceiling, our tests returned an opaque base and five transparent layers. Save the full returned set rather than selecting a single piece if you intend to arrange the menu elements together later.
Isolate text lines from a poster
Our three-line poster test produced one transparent layer for each text line plus the base. The total was four images despite a requested ceiling of five. Count the returned pieces after completion instead of treating the request limit as a list of guaranteed files.
Organize pieces by their returned metadata
Use each name to identify a layer, its bounding box to understand its position, and zIndex to follow the stacking order. Keep those values connected to the corresponding file. Requesting English names can make that organization easier when the surrounding design workflow uses English labels.
Prompt guide & pro tips
Choose a finished source with known elements
Start by confirming that your file is a PNG or JPEG and meets the 512 x 512 minimum. Decide which elements you want separately before setting the count. For a cover, list the background, person, title, supporting copy, and barcode when those are the pieces you need.
Name the requested separation
The prompt is optional, so you can submit a source without an element list. When a particular split matters, write a short instruction such as "Separate the masthead, subtitle, issue line, and barcode." This tells the layer tool what you intend to work with after the split.
Ask for the label language directly
Add "Return layer names in English" when English labels are required. The cover and menu examples use that kind of instruction. Our language observation concerns the returned layer names; it does not mean that printed text in the source must be translated or replaced.
Point to a region with a bounding-box tag
To identify a target area, use the form <bbox>x1 y1 x2 y2</bbox> with coordinates between 0 and 1000. For example, <bbox>0 0 1000 300</bbox> identifies a region across the top portion of the picture. Follow the tag with a description of the element to separate so the region and its purpose are clear.
Pick a count for the pieces you need
For a planned base and five layers, choose a ceiling of six. If you need finer pieces, a larger ceiling usually gives finer layers. The setting remains a limit rather than a promised count. Compare the actual returned set with your intended element list before starting the next design step.
Keep the base format separate from layer transparency
Choose png or jpeg according to the base file you need. This choice does not turn separated layers into JPEG files. They retain transparent PNG encoding with either base choice. Keep the opaque base when the full composition needs its underlying image.
Understand the output count at settlement
Layer billing follows the resolution tier and the number of images actually returned, with the base included. The quote holds the maximum for the requested output ceiling and releases the difference at settlement. The auto resolution setting is held at the 2k rate. Consult the charge shown on the page when choosing your request settings.
Save the complete layer result
Download the base, transparent PNGs, and their placement details together. Record the optional instruction and the output ceiling alongside them. This preserves the relationship between the source design, the separated files, and their names and stacking order for the next composition.
API quick start
# Generate the idempotency key once; reuse it when retrying after a lost response.
export SPICY_IDEMPOTENCY_KEY="${SPICY_IDEMPOTENCY_KEY:-$(uuidgen)}"
curl -X POST https://api.spicyapi.ai/api/v1/jobs/createTask \
  -H "Authorization: Bearer $SPICY_API_KEY" \
  -H "Content-Type: application/json" \
  -H "Idempotency-Key: $SPICY_IDEMPOTENCY_KEY" \
  -d '{
  "model": "bytedance/seedream-5.5/layer-decomposition",
  "input": {
    "image_url": "https://example.com/reference.png",
    "num_outputs": 10,
    "output_format": "png",
    "resolution": "auto"
  }
}'

# Copy data.taskId from the response into TASK_ID, then poll the status.
TASK_ID="TASK_ID_FROM_RESPONSE"
curl "https://api.spicyapi.ai/api/v1/jobs/recordInfo?taskId=$TASK_ID" \
  -H "Authorization: Bearer $SPICY_API_KEY"
See the API reference for authentication, the complete schema, polling, and error handling.