Introduction
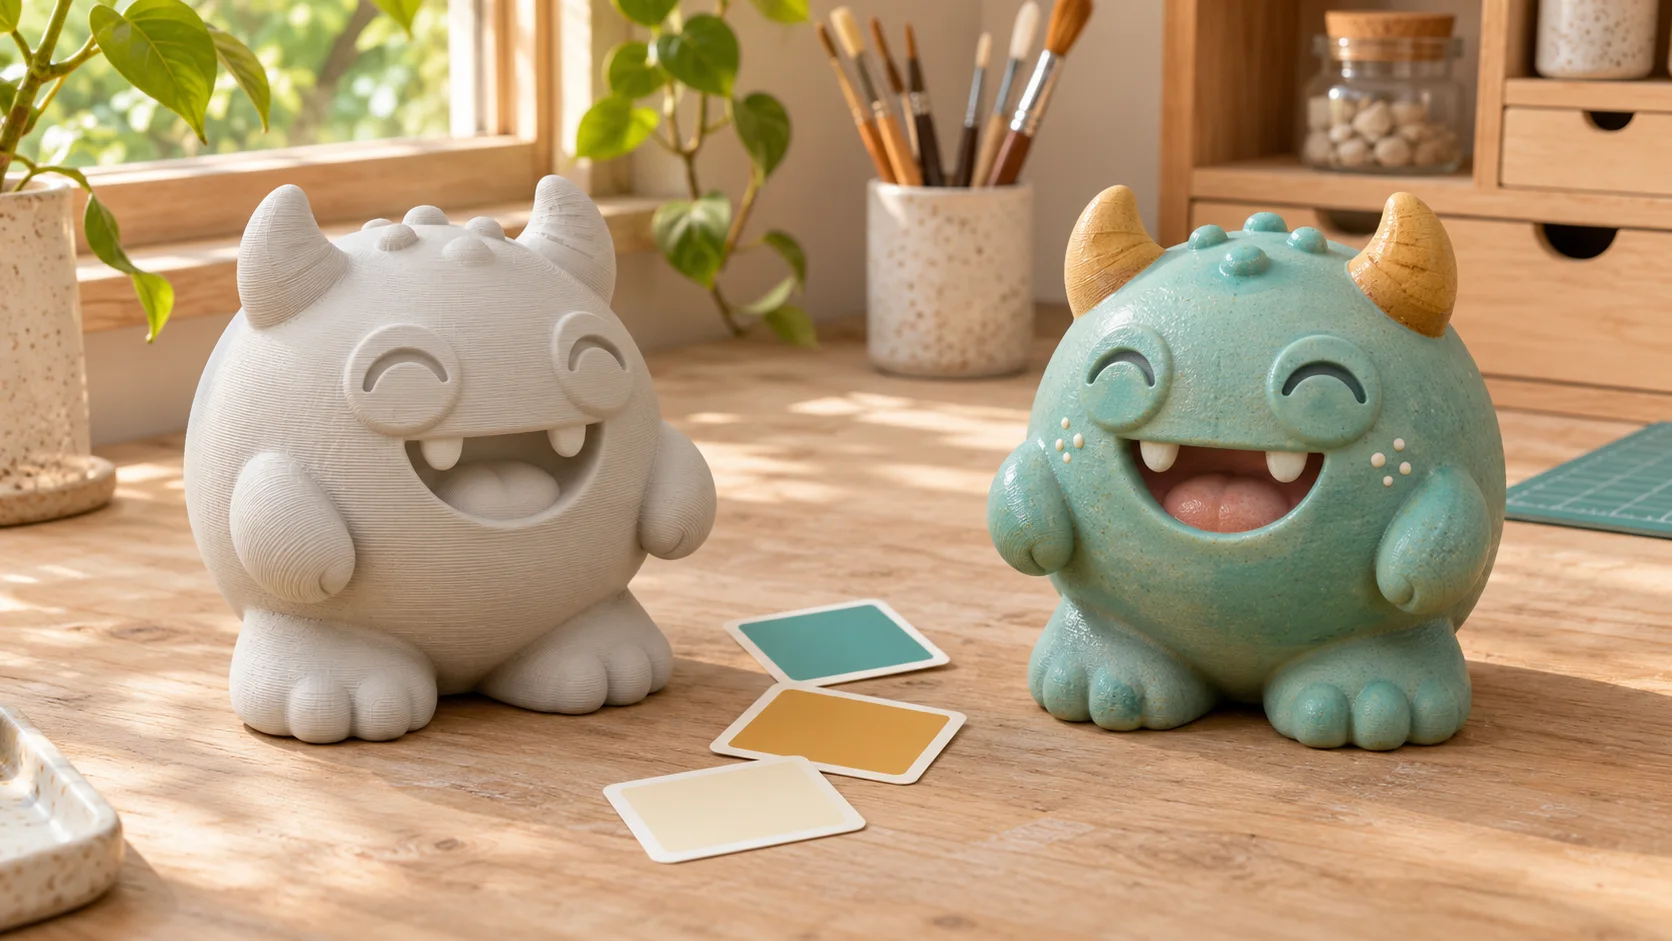
Meshy N1 paints colour directly onto a 3D object. Retexture takes your existing mesh and image references, replaces its texture and returns a GLB with the same shape and face count. Use photos of the object to recover its appearance, or a style image to explore another colour scheme. Working in 3D helps reduce doubled edges, colour bleeding and broken patterns associated with projecting separate views.
Key features & highlights
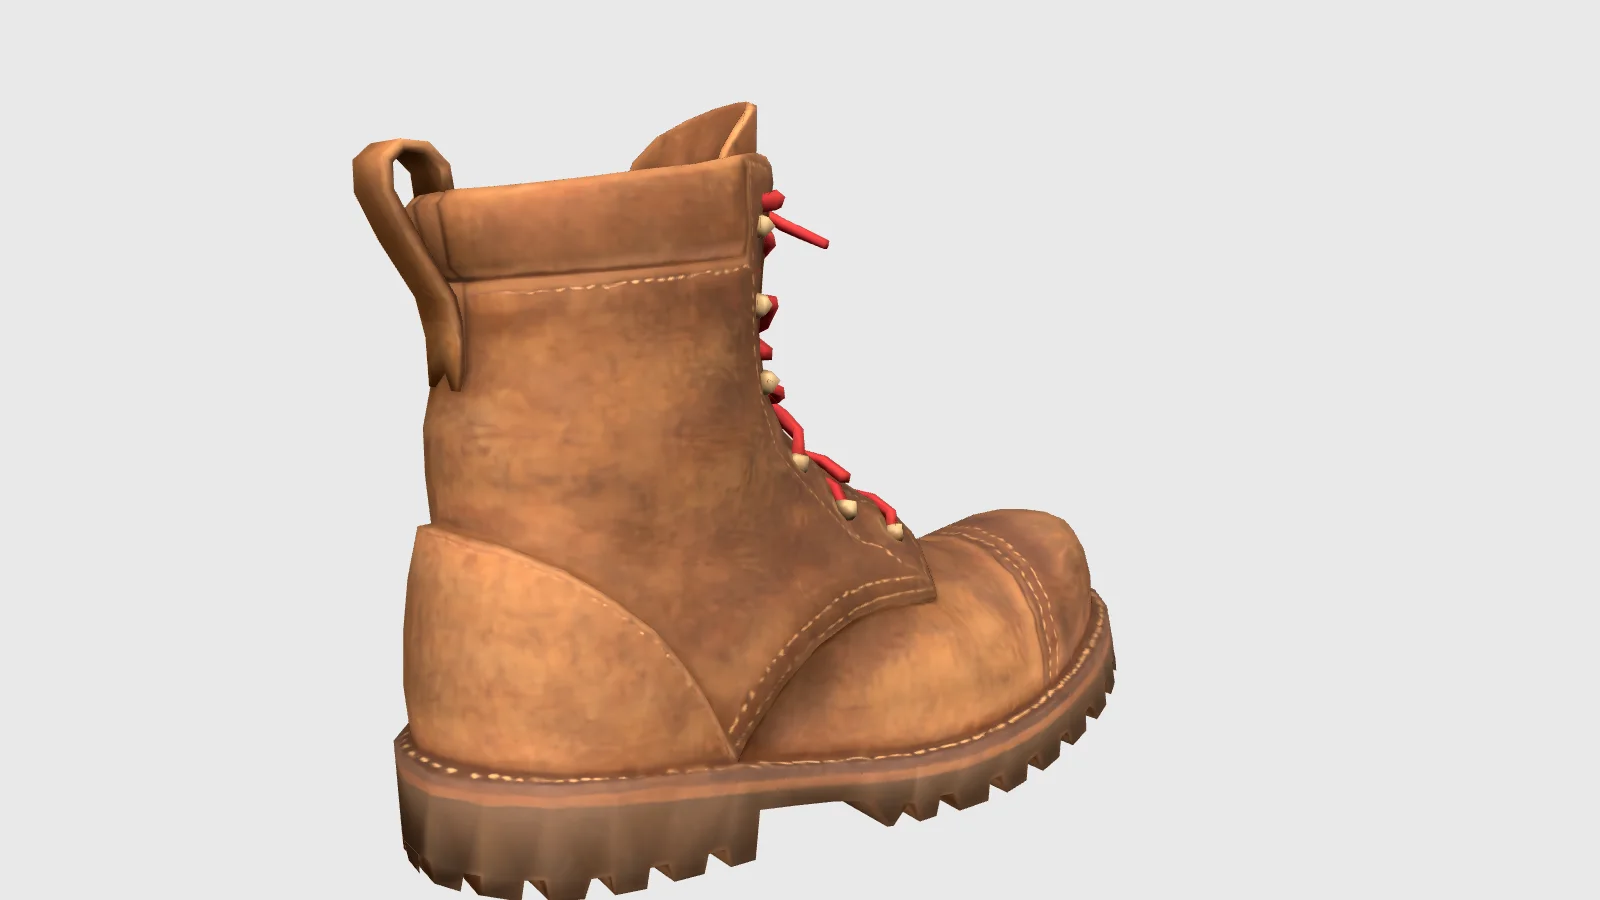
Leather details on a previously white boot
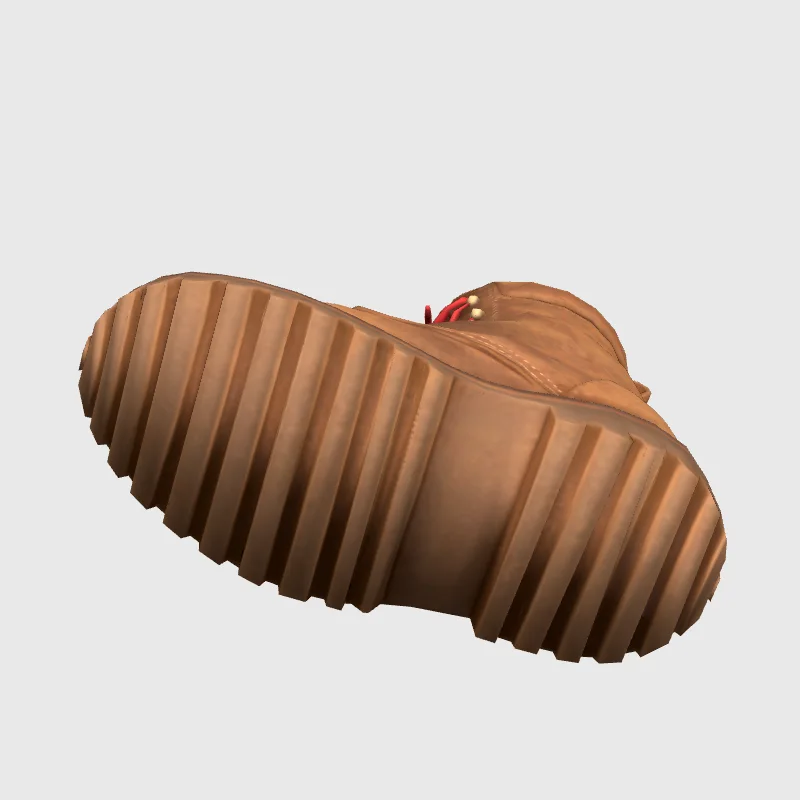
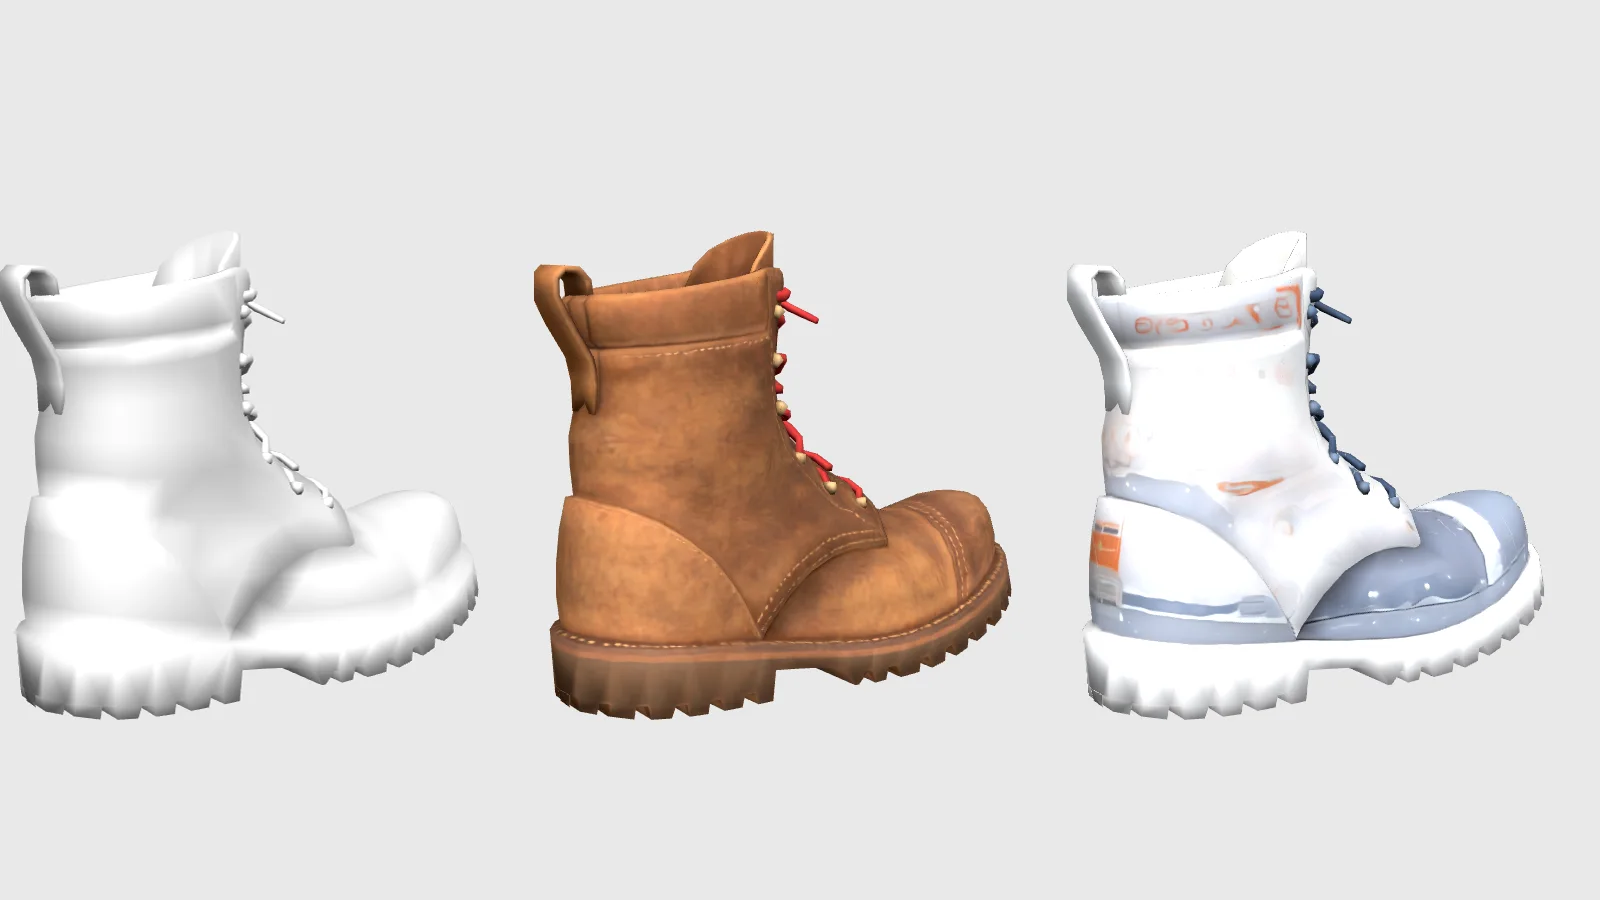
A front product photo gave our untextured, UV-free boot worn brown leather, visible stitching, red laces and brass-coloured eyelets. Even the sole tread received dark brown colour. The 35-second result was a 3.5 MB GLB with one 2048-pixel PNG map, retaining all 2,804 triangles. Colour can suggest a material finish here, but the result does not include separate PBR maps.
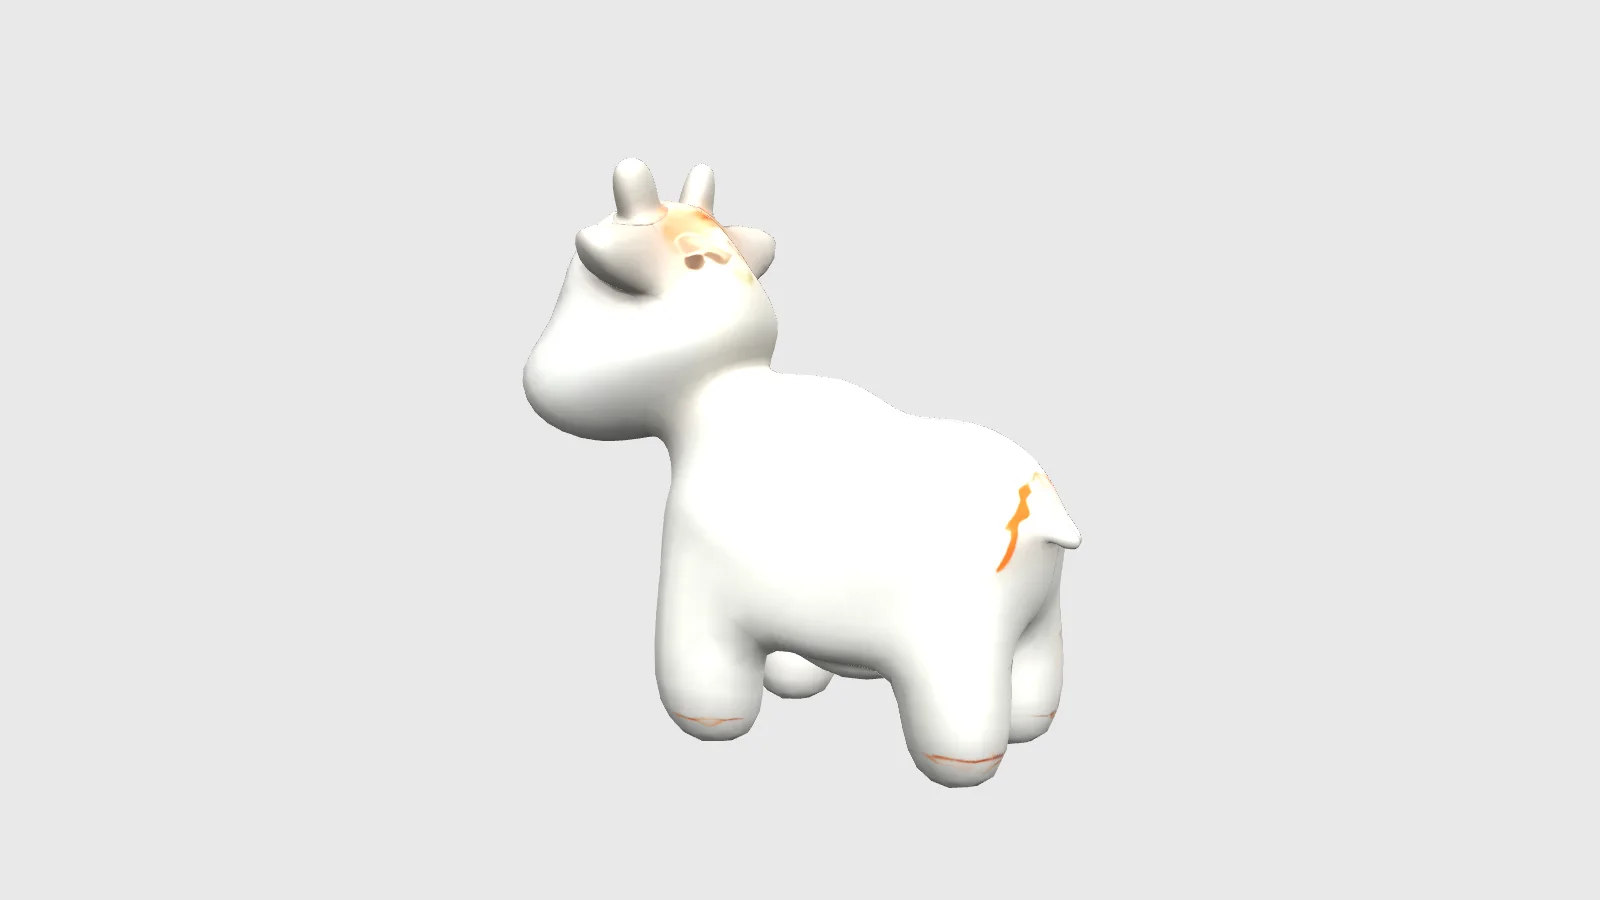
Borrow a palette, keep the boot
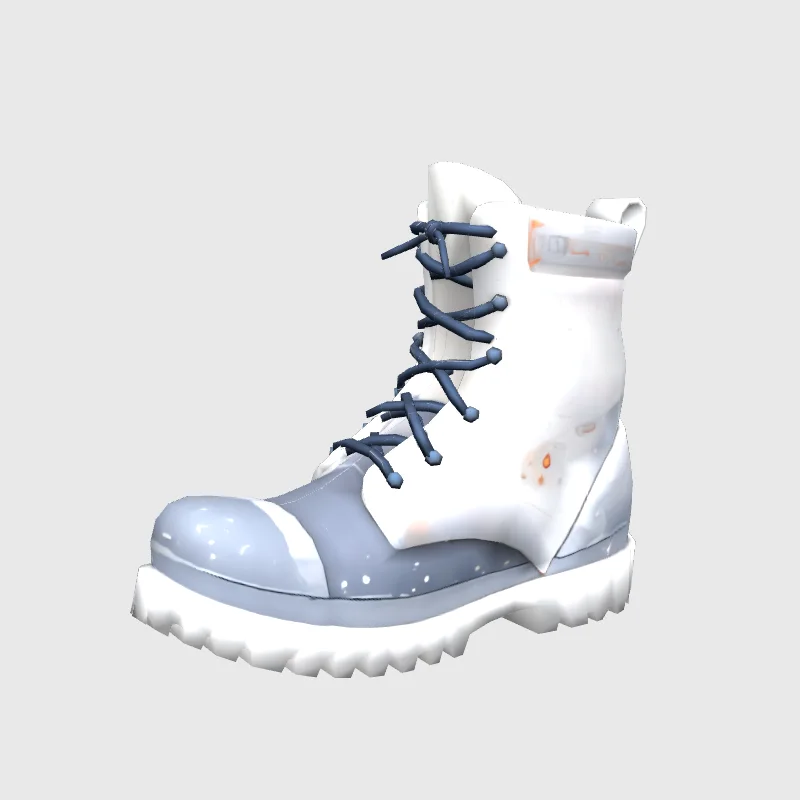
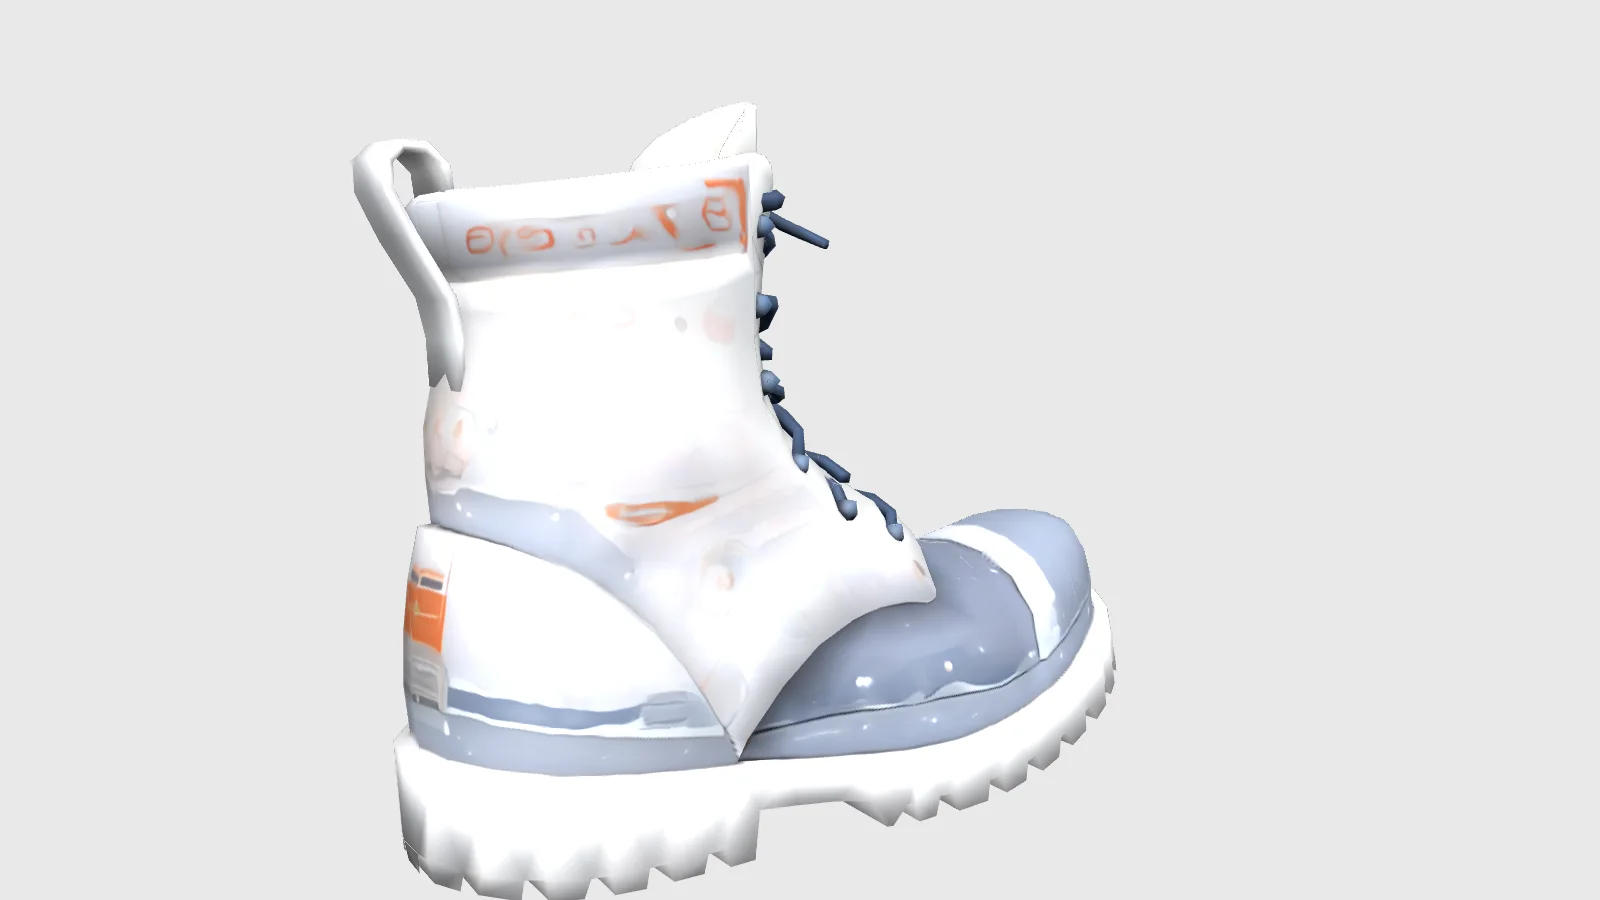
With a white-and-orange toy astronaut as the style reference and UV preservation disabled, the same boot gained a mostly white surface, a grey-blue toe, navy laces and small orange markings. Suit-panel-like patterns appeared on the upper. The run took 28 seconds and returned a 2.6 MB GLB; the mesh still had 2,804 triangles.
Request parameters
| Parameter | Required | Description |
|---|---|---|
mesh_url | Yes | Existing mesh, up to 90 MB: GLB, binary FBX, OBJ or STL. A direct URL must end in the matching extension; export JSON .gltf to .glb. at least 1 characters |
reference_image_urls | No | Use 1–4 photos or renders of this same object, front view first. Choose this field or |
reference_image_url | No | One style image for colour, material appearance and markings, treated as the front. Use it instead of |
keep_original_uv | No | Enabled by default: reuse existing UVs. Disable for a new unwrap; inputs without UVs get new UVs with either setting. Default: |
Pricing
$0.48 / delivery
Each successful delivery has one fixed charge, unaffected by mesh size, reference count or keep_original_uv. Failed requests are not billed, including an invalid model format or missing references.
Use cases
Several finishes for one prop
Give a game item or an AR prop a worn leather, painted or playful colour scheme while keeping the same mesh. Compare the versions in the scene where you intend to use them; the image reference changes the surface appearance, not the object’s silhouette.
Colour a plain model before presentation
Add colour to a white model or a digital model prepared for 3D printing, then use the GLB to preview the finish. For an online shop, try a few visual colour options on an existing product model and check every side before showing the result to customers.
Prompt guide & pro tips
Prepare the existing object
Upload a GLB, binary FBX, OBJ or STL of at most 90 MB through mesh_url, or supply a direct link ending in .glb, .fbx, .obj or .stl. Export JSON .gltf files to .glb first. Meshy states a ceiling of 7,999,999 faces. No mesh yet? Tripo P1, Tripo H3.1 or Seed3D 2.0 can turn an image into a starting object.
Choose one reference route
For photos or renders of this object, send 1–4 images in reference_image_urls, with the front view first. Alternatively, place one palette, material or marking reference in reference_image_url; it is treated as a front reference. Supplying both fields or neither is rejected before processing and is not billed. There is no text prompt to write.
Decide how UVs are handled
Leave keep_original_uv at true to reuse the mesh’s existing UV layout, or set it to false for a new unwrap. If the input has no UVs, either setting generates them. Download the GLB and rotate it to inspect seams, the underside and colour placement; expect a colour image embedded in a double-sided material.
API quick start
# Generate the idempotency key once; reuse it when retrying after a lost response.
export SPICY_IDEMPOTENCY_KEY="${SPICY_IDEMPOTENCY_KEY:-$(uuidgen)}"
curl -X POST https://api.spicyapi.ai/api/v1/jobs/createTask \
  -H "Authorization: Bearer $SPICY_API_KEY" \
  -H "Content-Type: application/json" \
  -H "Idempotency-Key: $SPICY_IDEMPOTENCY_KEY" \
  -d '{
  "model": "meshy/n1/retexture",
  "input": {
    "mesh_url": "https://example.com/reference.png"
  }
}'

# Copy data.taskId from the response into TASK_ID, then poll the status.
TASK_ID="TASK_ID_FROM_RESPONSE"
curl "https://api.spicyapi.ai/api/v1/jobs/recordInfo?taskId=$TASK_ID" \
  -H "Authorization: Bearer $SPICY_API_KEY"
See the API reference for authentication, the complete schema, polling, and error handling.