Introduction
Gigapixel enlargement
Gigapixel offers faithful enlargement and generative reconstruction through a single preset choice. The default is standard_v2.
Request settings
Send image_url, choose preset and select resolution from 2k, 4k or 8k (default 4k). JPEG is the default output.
Delivery constraints
For transparent artwork use preset: transparent together with output_format: png. Review generated facial details before using the enlarged image.
| Field | Value |
|---|---|
| Input | Image |
| Output | Image |
| Source formats | JPEG, PNG, WebP |
| Default preset |
|
| Default tier | 4K |
| Result formats | JPEG or PNG; transparent always PNG |
| Charging basis | Per image, by preset and output tier |
Key features & highlights
More pixels alone do not fix missed focus
From left: source, Standard V2, Wonder 4. The precision result stays soft around the eyes; Wonder 4 rebuilds a more defined face while keeping its overall likeness in this test.
Check the person as well as the sharpness
Redefine made this man look younger and changed his features. Recover 3 and Standard MAX also rebuilt facial detail; Detail left this severely defocused face softer. These are observations from one image, not promises for every photo.
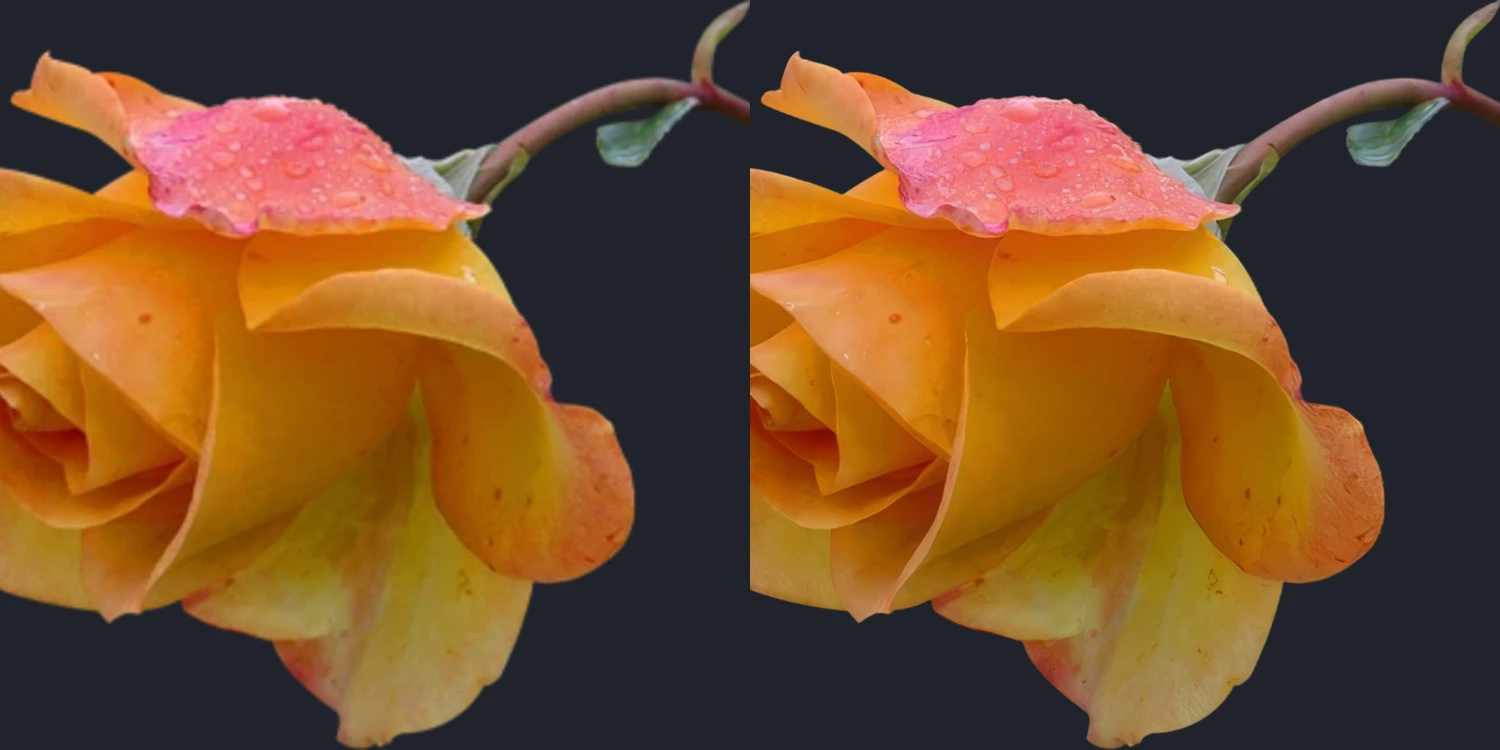
Keep the space around the rose transparent
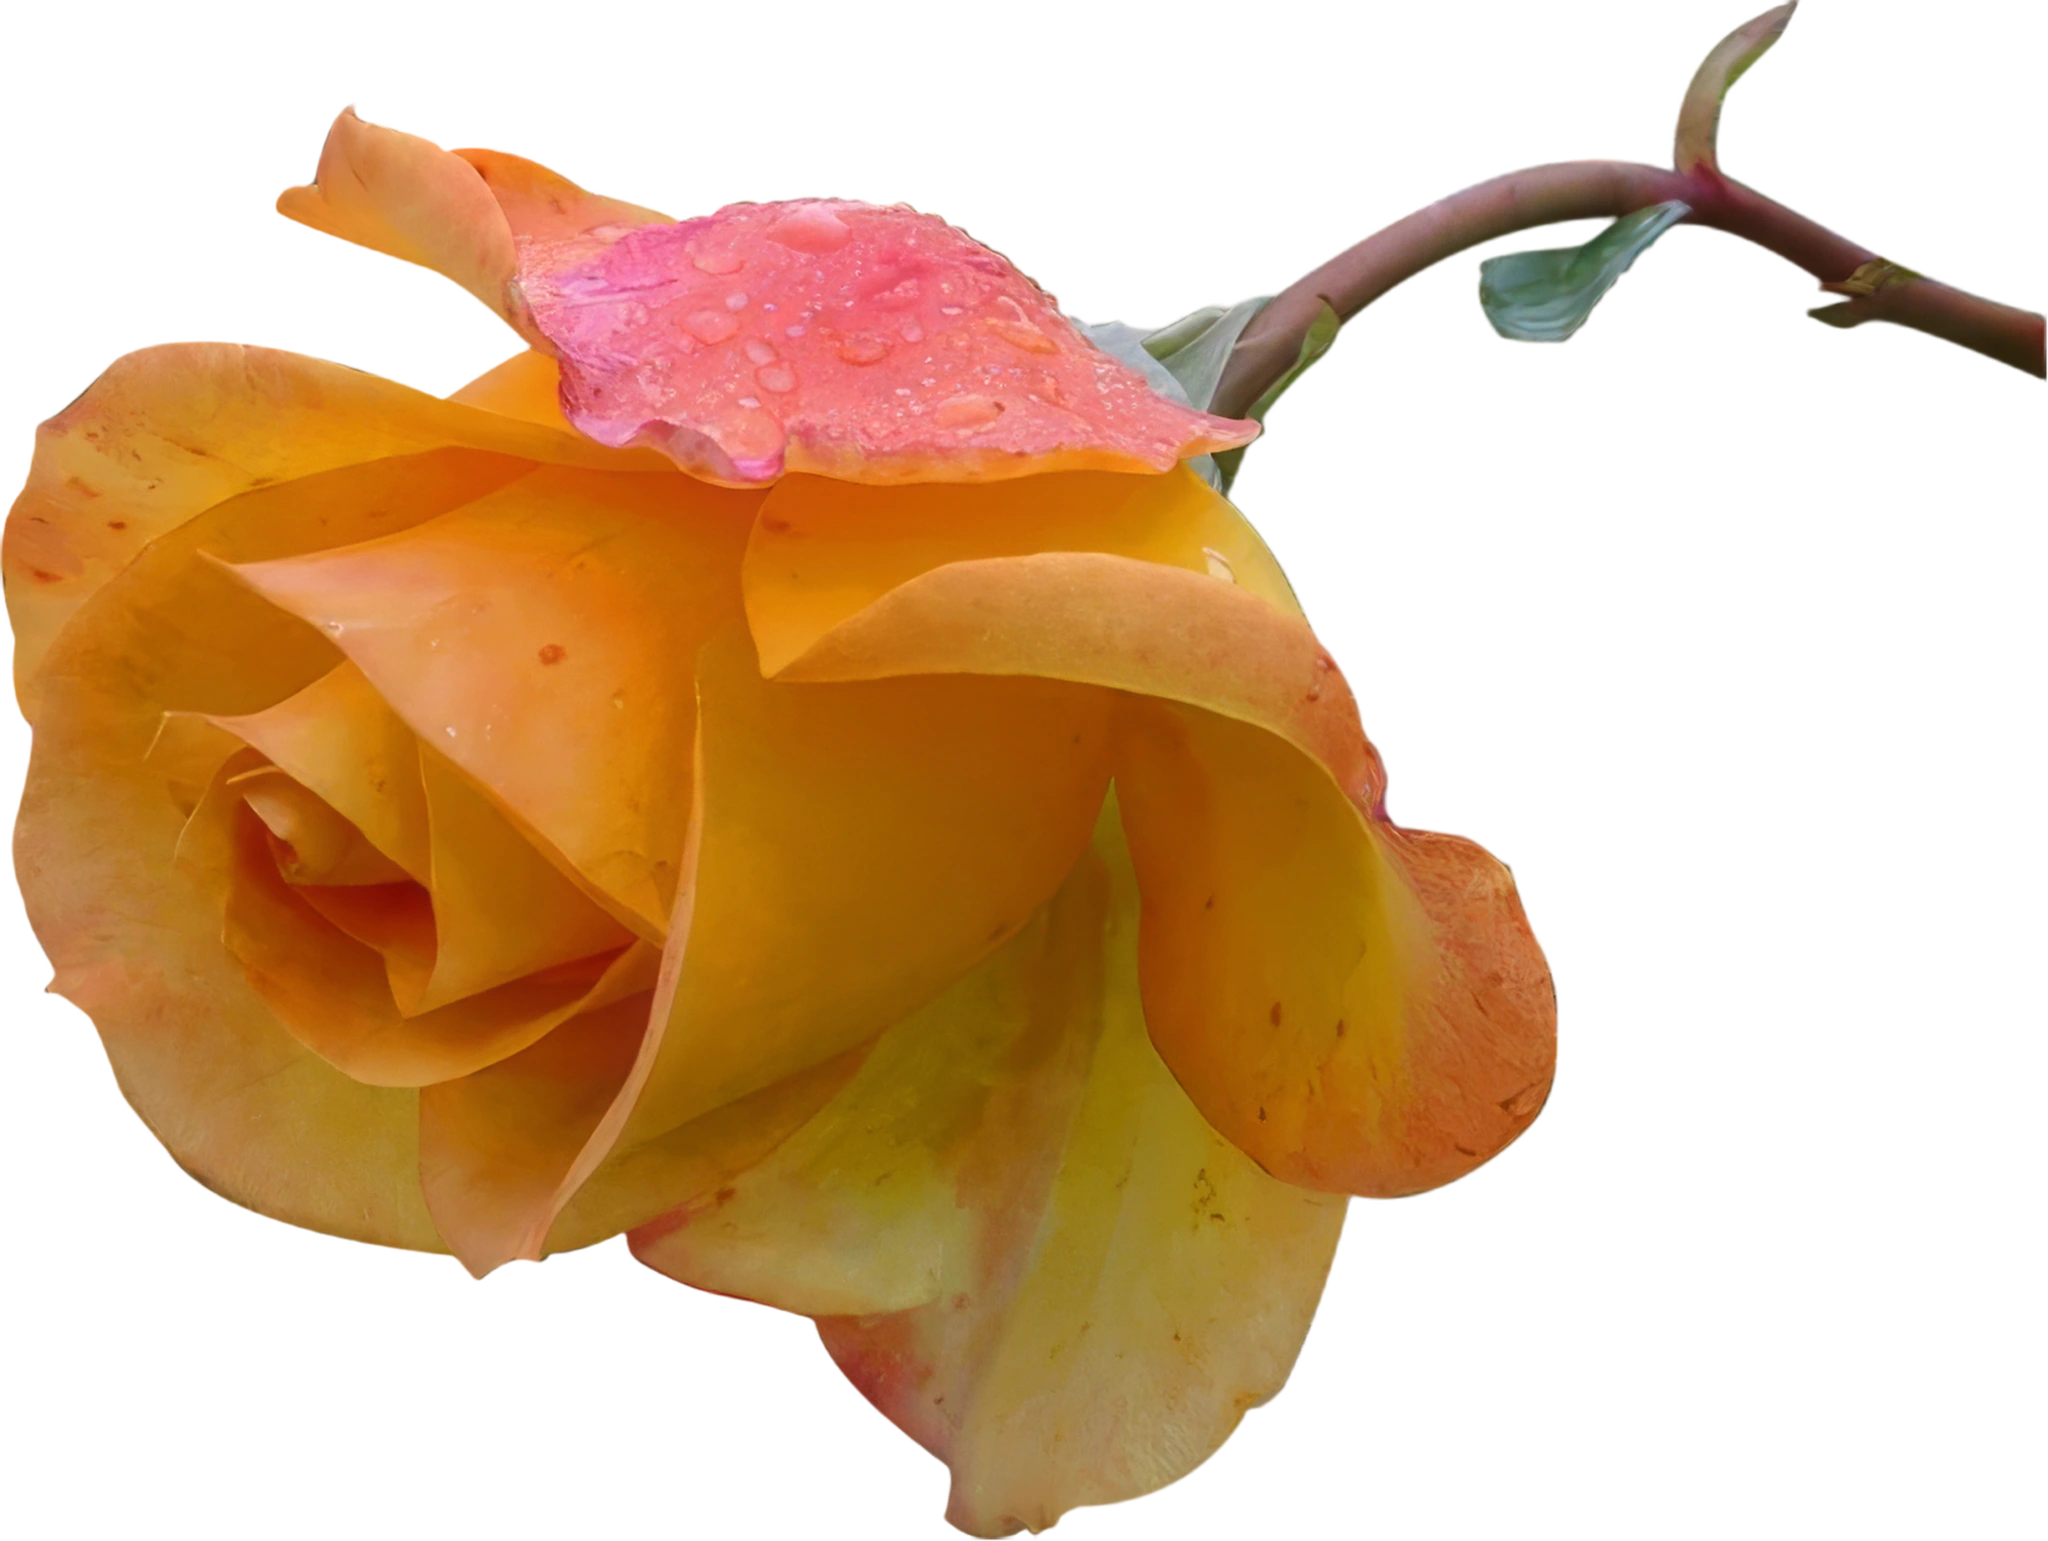
Our cutout yellow-orange rose PNG grew from 400×301 to 2360×1776 with its alpha channel intact. Its pink petal tips carry water droplets, with a short green stem and leaves also visible. The dark comparison backdrop is for display only; the example file retains transparency.
Request parameters
| Parameter | Required | Description |
|---|---|---|
image_url | Yes | The single JPEG, PNG or WebP source that Gigapixel will enlarge. at least 1 characters |
preset | No | Choose among twelve models. The five precision presets preserve content; generative presets reconstruct details. |
resolution | No |
|
output_format | No | Gigapixel normally returns |
Pricing
Gigapixel is billed per completed image according to preset and resolution. Changing output_format does not change the charge.
| Resolution | Style preset: cgi | Style preset: detail | Style preset: high_fidelity_v3 | Style preset: low_resolution_v2 | Style preset: standard_v2 | Style preset: text_refine | Style preset: transparent | Style preset: wonder_3_5 | Style preset: wonder_4 | Style preset: recover_3 | Style preset: redefine | Style preset: standard_max |
|---|---|---|---|---|---|---|---|---|---|---|---|---|
| $0.12 / image | $0.12 / image | $0.12 / image | $0.12 / image | $0.12 / image | $0.12 / image | $0.12 / image | $0.12 / image | $0.12 / image | $0.24 / image | $0.24 / image | $0.24 / image |
| $0.12 / image | $0.12 / image | $0.12 / image | $0.12 / image | $0.12 / image | $0.12 / image | $0.12 / image | $0.36 / image | $0.36 / image | $0.60 / image | $0.60 / image | $0.60 / image |
| $0.36 / image | $0.36 / image | $0.36 / image | $0.36 / image | $0.36 / image | $0.36 / image | $0.36 / image | $1.08 / image | $1.08 / image | $2.04 / image | $2.04 / image | $2.04 / image |
Use cases
Prepare an AI image for printing
Pick a resolution tier for a larger print, then inspect faces and fine patterns before sending the file to print.
Enlarge a logo or a cutout
Try text_refine for graphics and transparent for a PNG whose background must remain clear.
Prompt guide & pro tips
Supply the source
Set
image_urlto your JPEG, PNG or WebP photo or artwork.Decide how much to rebuild
Start with
standard_v2for faithful enlargement or selectwonder_4when lost detail needs reconstruction.Choose the delivery size
Set
resolutionandoutput_format; fortransparent, explicitly requestpng.
Gigapixel enlargement
Run one Gigapixel preset on a photo or graphic and receive an enlarged result in the selected pixel-area tier; transparent artwork is returned as PNG.
Request settings
{
  "image_url": "https://example.com/blurred-portrait.jpg",
  "preset": "standard_v2",
  "resolution": "2k",
  "output_format": "jpeg"
}
Preset guide
preset | Best starting point |
|---|---|
standard_v2 | General photos; default precision option |
high_fidelity_v3 | Already sharp, high-resolution material |
low_resolution_v2 | Tiny or heavily compressed images |
cgi | Illustrations and rendered artwork |
text_refine | Text, logos and graphics |
wonder_4 | Latest all-purpose generative enhancement |
wonder_3_5 | Generative reconstruction with Wonder 3.5 |
recover_3 | Severely degraded photographs |
standard_max | Generative detail reconstruction |
redefine | Adds new detail and may change likeness |
detail | More realistic skin in AI-generated faces |
transparent | Alpha-preserving PNG enlargement |
Observed results
From left: source, Standard V2, Wonder 4. The precision result stays soft around the eyes; Wonder 4 rebuilds a more defined face while keeping its overall likeness in this test.
Redefine made this man look younger and changed his features. Recover 3 and Standard MAX also rebuilt facial detail; Detail left this severely defocused face softer. These are observations from one image, not promises for every photo.
Our cutout yellow-orange rose PNG grew from 400×301 to 2360×1776 with its alpha channel intact. Its pink petal tips carry water droplets, with a short green stem and leaves also visible. The dark comparison backdrop is for display only; the example file retains transparency.
Delivery constraints
A request handles one image with one preset. Generative presets can alter faces and small details, so they are unsuitable for identity documents or evidentiary restoration. An 8K result can be a large download. Choosing JPEG with transparent is rejected.
API quick start
# Generate the idempotency key once; reuse it when retrying after a lost response.
export SPICY_IDEMPOTENCY_KEY="${SPICY_IDEMPOTENCY_KEY:-$(uuidgen)}"
curl -X POST https://api.spicyapi.ai/api/v1/jobs/createTask \
  -H "Authorization: Bearer $SPICY_API_KEY" \
  -H "Content-Type: application/json" \
  -H "Idempotency-Key: $SPICY_IDEMPOTENCY_KEY" \
  -d '{
  "model": "topaz/gigapixel/upscale",
  "input": {
    "image_url": "https://example.com/reference.png",
    "output_format": "jpeg",
    "preset": "standard_v2",
    "resolution": "4k"
  }
}'

# Copy data.taskId from the response into TASK_ID, then poll the status.
TASK_ID="TASK_ID_FROM_RESPONSE"
curl "https://api.spicyapi.ai/api/v1/jobs/recordInfo?taskId=$TASK_ID" \
  -H "Authorization: Bearer $SPICY_API_KEY"
See the API reference for authentication, the complete schema, polling, and error handling.